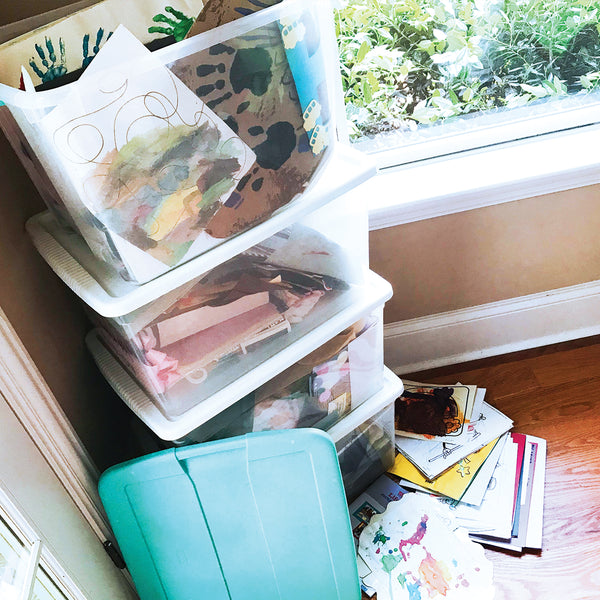
Dig out those 27 school bins in your attic/basement/guest room closet and let's dig in!
Now's the perfect time to reset your school keepsakes into an easy, compact, turn-key system.
Dig out those 27 school bins in your attic/basement/guest room closet and let's dig in!
Now's the perfect time to reset your school keepsakes into an easy, compact, turn-key system.

Your Mission, should you choose to accept it: Say Buh-Bye to all those bins!
The steps below will get you started capturing all the good stuff in a creatively compact way.
Here's How:
STEP 1.
Pull everything out and separate in to (3) piles.
TIP: separate these piles by grade since your Class Keeper® has graded sections:
Pile #1 - KEEP
This includes things like handprint items, awards/certificates, 8x10 class photos, special drawings or letters that will go IN the Class Keeper® pocket or punch holes in it using the plastic bookmark as your guide so that it fits into the 3-rings perfectly. Tip: Every grade section has a photo page big enough for the 8x10 class photo.
Pile #2 - NOT SURE STUFF
This includes the bigger poster like items, handwritten stories, 3-D artwork or graded papers showing your child's great scores.
Pile #3 - TOSS
Worksheets, cotton balls glued to construction paper (aka crafts that only involved my kid gluing on a craft item like buttons or Froot Loops®.) Hold it, adore it, thank it for the joy it brought...then be done with it. You know this: your kid does not want 18 bins in their new home one day anymore than you want the bins your own parents dumped on you when clearing out their own basements & attics!
STEP 2.
Circle back to your Pile #2 and let's pare it down to the good stuff!
Be ruthless with whether it's truly a momento of your child's school experience or if you can add it to Pile #3.
For those things that are too large for your Class Keeper®, snap a photo of a them. If you can have your child hold it in the photo (since they are home now, too), you've just made it that much more special! After the photo shoot, put that over-sized item in Pile #3. 
When done, if you still have "too much stuff," here's what I do:
Place an assortment on the floor, ideally near an open door or window to capture great natural light, and stand on a chair to get the entire lot in a single photo on my phone. I sometimes have my kid sit on the floor with all these keepsakes around him so I can capture his smiling little face next to the Cheerios® artwork that I will soon throw away...and keep the digital image!
If you're really struggling with throwing something away, I get it.
Do this:
You can use the Class Keeper® Box as your bonus storage box for keepsakes while your Class Keeper® Binder and sit next to its box. Try not to fill this box if you can help it. You'll thank yourself later if you get it buttoned up now. Moving forward, adopt this sorting system when anything comes home from school. Resist the convenience of just tossing it into a bin. #buybyebins This will keep your kitchen counters and your to-do list clear!
STEP 3.
Those first/last day of school photos that have been living on your phone?
Lets get those printed & attached inside your Class Keeper®.
There are template pages for every grade with darling questions to help you remember how their minds worked at that age.
STEP 4.
Completing the 16-year spread with mini photos.
Here's what I do: You may not have a wallet photo from every year, but you likely took a photo of your child on their birthday. Get one printed from each birthday and trim it down to fit into that photo placeholder.
Seeing your child grow-up over a 16-year period in a single spread is priceless!
Get started on your keepsake organization journey today!
Get the Class Keeper® School Memory Binder PLUS the All-New Class Keeper® APP Bundle for the ultimate keepsake system!

